Choosing a No-Pull Setup
Front-clip harnesses, double-ended leashes, head halters — the gear that actually helps while you train, the gear that just hides the problem, and the gear that hurts.
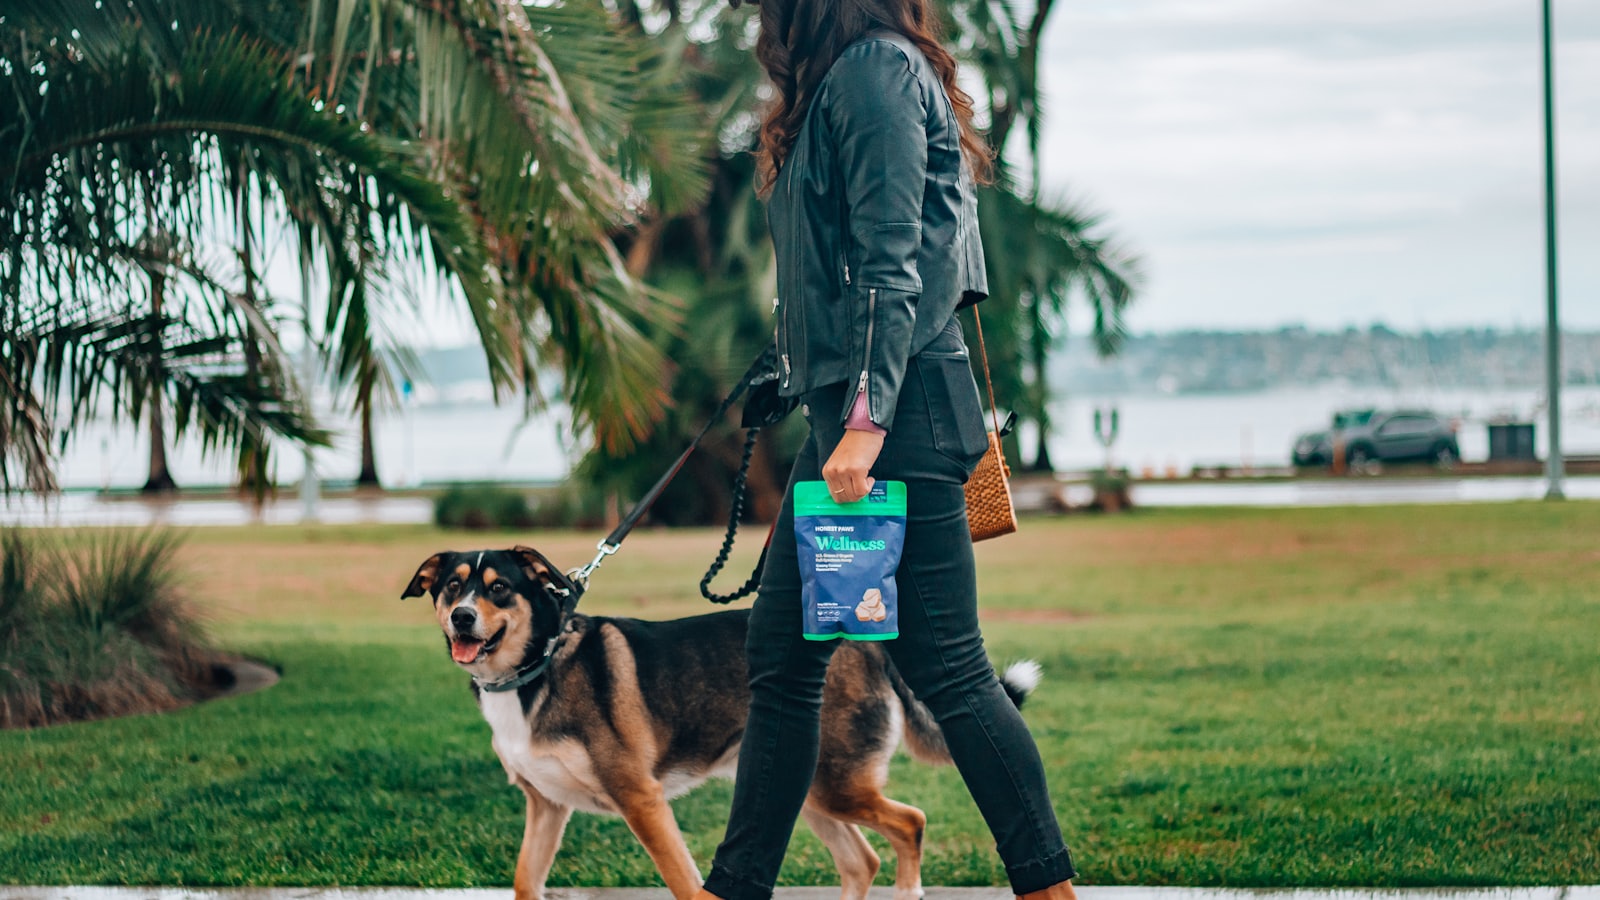
The pet store's leash wall promises salvation in nylon: no-pull harnesses, anti-pull halters, training collars of every ideology. Here's the truth the wall won't tell you: no gear teaches loose-leash walking — gear buys you steering and safety WHILE the training does the teaching. The right setup makes the loose-leash lessons dramatically easier; the wrong one either masks the pulling (which returns the day the gear changes) or trades pulling for pain. Here's how to choose.
Gear manages the pull; training removes it. Buy the setup that makes training easier — not the one that promises you'll never have to.
📋 Quick Read
- The evidence-friendly starter: a front-clip harness — redirects a pulling dog sideways instead of letting them lean in, gives real steering, zero pain mechanism, and pairs perfectly with the loose-leash lessons.
- The power-steering option: head halters for strong dogs and small handlers — genuinely effective, but they require a proper acclimation period (days of treat-conditioning) and a no-jerk handling rule.
- The skip list: aversive tools (prong, choke, shock) trade leash manners for pain-and-fear mechanics the modern evidence keeps scoring against — and retractables, which literally teach that pulling extends the leash.
The recommended tiers
Tier one, most dogs: a well-fitted front-clip (chest-ring) harness — the default recommendation for pullers-in-training. Look for a Y-front design that clears the shoulders (straps cutting across shoulder movement affect gait — fit matters), snug enough for the two-finger rule, with the leash on the chest ring during training walks. Many models offer both front and back clips: front for training and steering, back for sniffaris and long-line work once manners arrive (the harness-vs-collar lesson's division of labor). Tier two, the strong-dog/small-handler mismatch: the head halter (Gentle Leader and kin) — real power steering, provided you invest the acclimation week (treats for nose-in, worn briefly with pay, built up before the first real walk — a halter ambushed onto a dog becomes a face-pawing rodeo) and you keep hands soft (guide, never jerk). Tier three, the accessory that helps both: a double-ended leash (front clip + back clip, or halter + harness) for balanced steering, and plain 6-foot leads over anything retractable.
Fit, acclimation, and handling
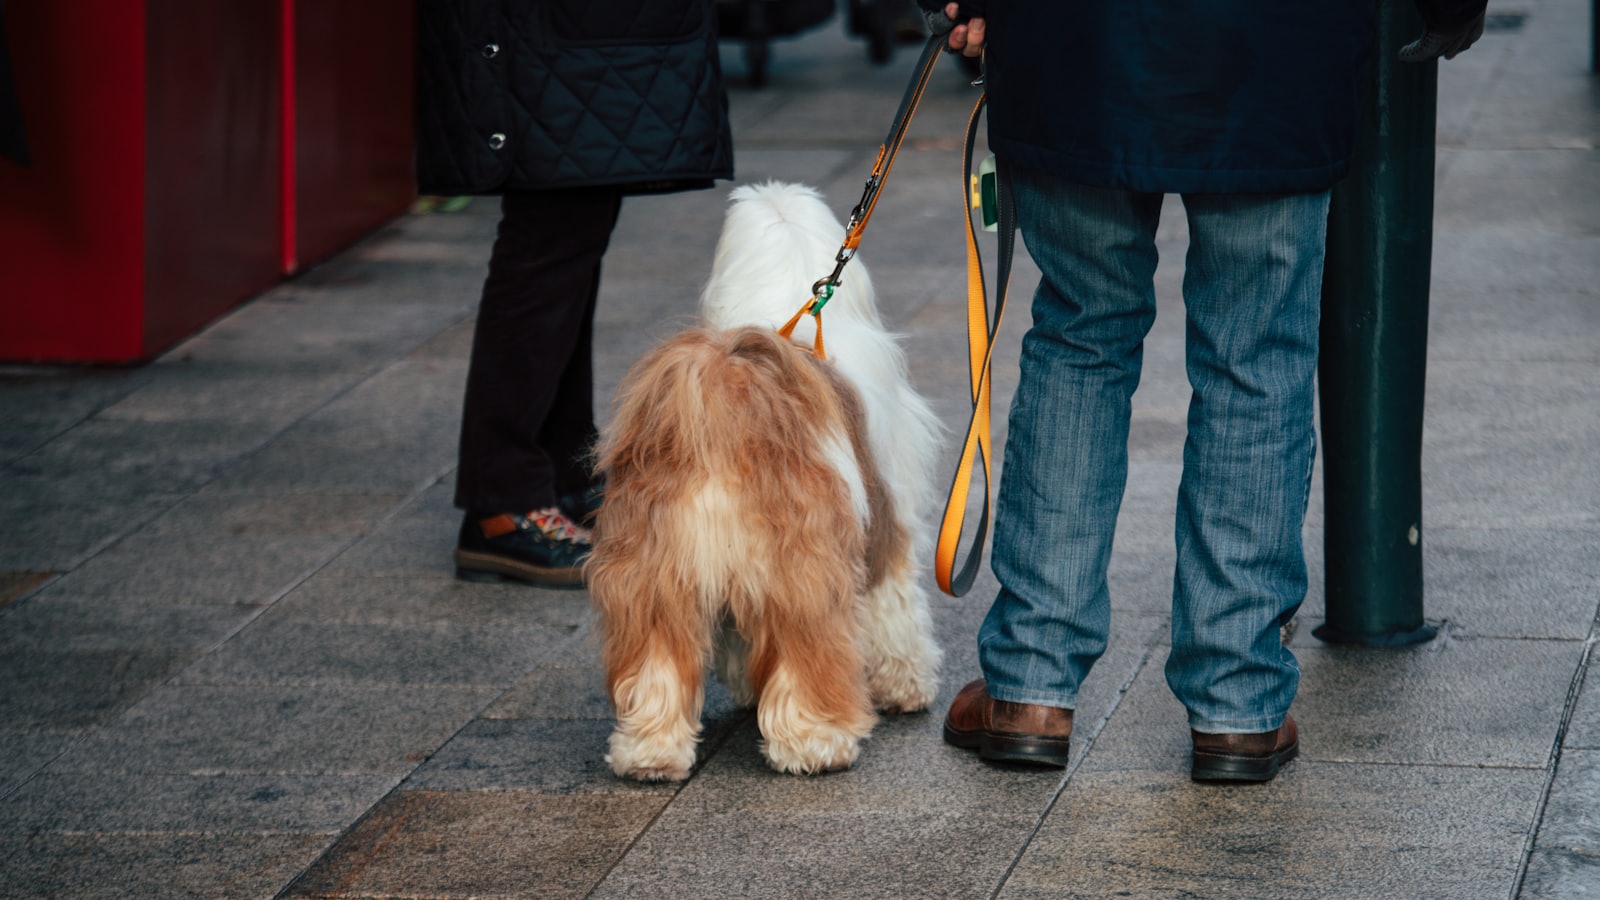
Front-clip fit: Y-shape sits on the breastbone, straps clear the armpits by an inch (rubbing shows up on mile three), two fingers under everything, and re-check monthly on growing dogs. Halter acclimation is non-negotiable: several days of nose-loop-equals-treats before it's ever attached to a leash, first wears at dinner (the good-things pairing), first walks short and heavily paid — and the handling contract forever: pressure is guidance, applied smooth and released instantly; jerking a head halter is how a helpful tool becomes a neck risk. Both tools share the golden handling rule from the loose-leash lessons: the gear stops the rehearsing of pulling; your feet and treats do the teaching (stop when tight, pay at the seam, forward when loose). And watch the gait the first week on any new harness — a dog moving oddly is telling you about fit before the chafe marks do.
The skip list, and why
Retractables: mechanically teach that pulling produces line (the opposite of every lesson), offer no control at extension, and injure hands — fine for a trained dog's beach sniffari, wrong for anything resembling training. Back-clip-only harnesses for committed pullers: comfortable, safe, and pure sled-rigging — the oppositional reflex thanks you. And the aversive aisle — prong, choke, and shock: they can suppress pulling, the way pain suppresses most things, but the veterinary-behavior consensus (AVSAB's humane-training position among others) keeps landing the same place: risks of fear, stress, and aggression fallout, damage to the walking relationship, and no learning about what TO do — all to solve a problem the front-clip-plus-training combination solves without the bill. If a strong dog still outmuscles every humane setup, that's not a gear gap — it's a cue to loop in a credentialed positive-reinforcement trainer for a few sessions, which costs about the same as the shock collar and fixes the actual problem.
- Pulling redirects (front-clip or halter) instead of rewarding
- Nothing loads the throat when the dog hits the end
- Fit passes: Y-front, two fingers, shoulders clear
- Facewear (if any) was properly acclimated, never ambushed
- Fixed-length leash — the retractable is retired from training
- The gear is paired with actual loose-leash training, not replacing it
🗓 This Week's Plan
- Days 1–2: Run the Gear Audit Walk; fit-check whatever you own against the rules above.
- Days 3–4: Swap to the tier that fits your dog (front-clip for most; halter acclimation started for the tugboats).
- Days 5–7: Pair the new setup with three loose-leash sessions and log the Leash Calm Scores — the gear-plus-training curve shows fast.
Audit your setup in Pak Social
One honest walk, one fit check, one fifteen-dollar decision. The right gear makes every loose-leash lesson easier — starting with tomorrow's.
Get Pak Social — Free ➡️ Up nextLeash Skills for Strong Dogs6 min read›