Fitting a Harness Correctly
A harness only helps if it fits. A loose one lets dogs escape; a tight one hurts — here's how to nail it.
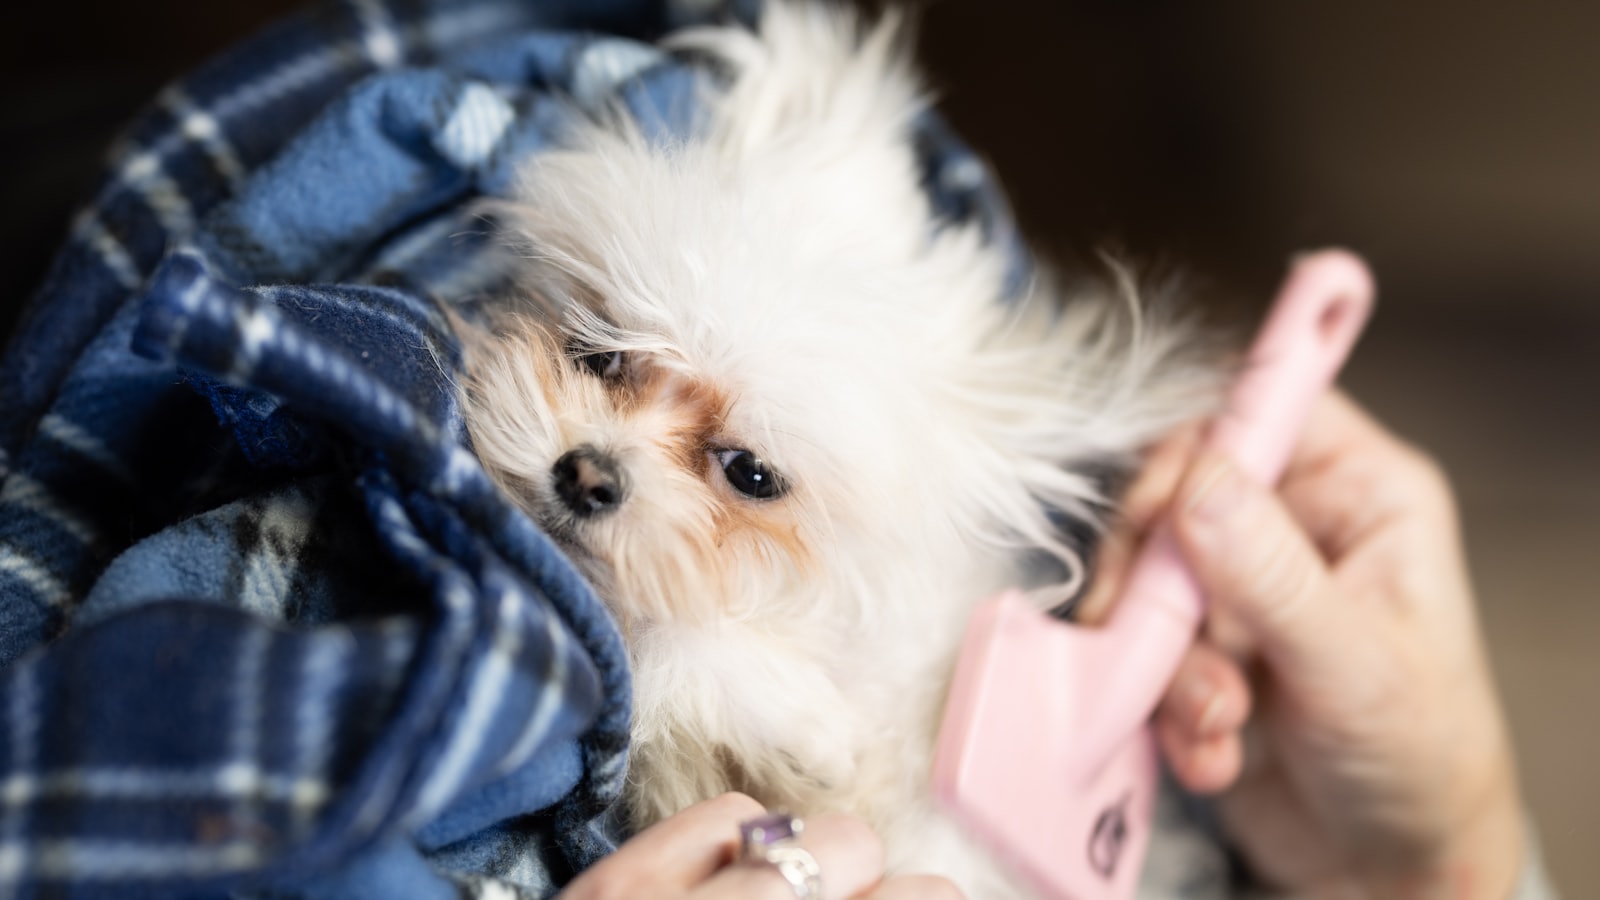
You bought the harness to make walks better — more control, less strain on the neck. But a harness that doesn't fit quietly undoes all of that: too loose and your dog can back right out of it into traffic, too tight and it chafes and restricts their stride. The good news is that fitting a harness is quick once you know what to check, and getting it right is the difference between gear that helps and gear that hurts. Here's the fit test that takes sixty seconds.
A harness that doesn't fit isn't safety gear — it's either an escape hatch or a rub burn waiting to happen.
📋 Quick Read
- The two-finger rule is your baseline: two fingers should slide snugly under any strap — no more (too loose) and no less (too tight).
- The most common failures are straps sitting in the armpits (painful rubbing) and a harness loose enough for a spooked dog to back out of.
- Fit changes over time: re-check as puppies grow, weight shifts, and coats thicken or get clipped.
Start with the two-finger rule
Every strap on the harness should pass the two-finger test: you can slide two fingers snugly underneath, but not much more. More than that and the harness is too loose — it'll shift, rub, and let your dog escape. Less than that and it's too tight, digging in and restricting movement. Adjust each strap in turn, then re-check them together, since tightening one often loosens another. This single rule prevents most fit problems.
Check the danger zones
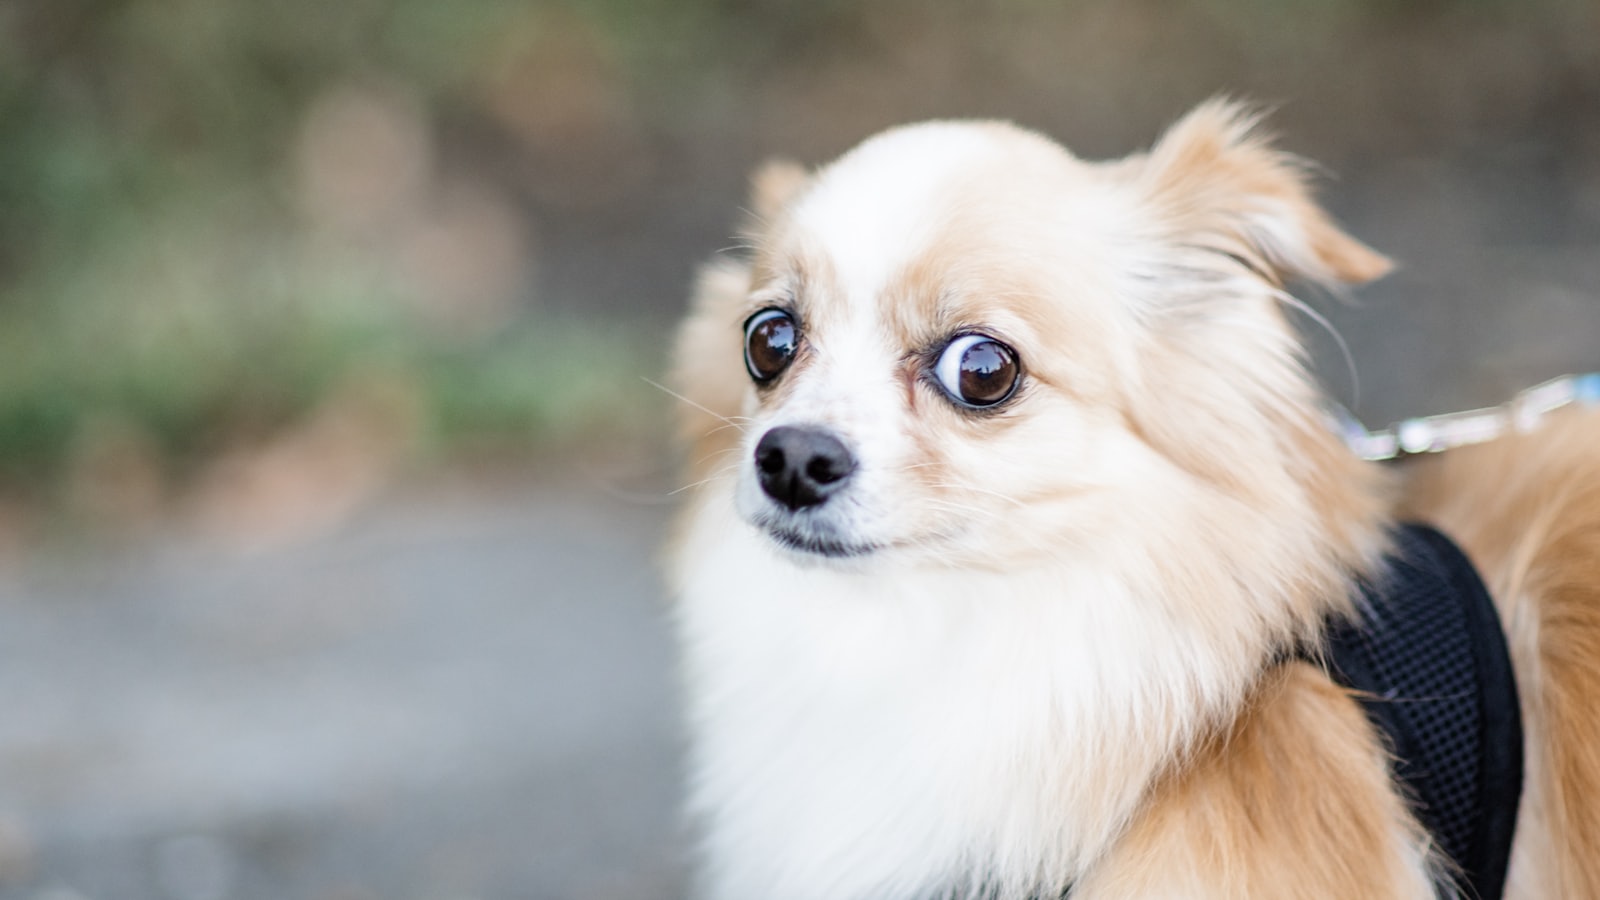
Two spots cause most of the trouble. First, the armpits (where the front legs meet the body): straps that ride up into them rub raw with every step, so make sure the harness sits clear of that crease. Second, containment: with the harness on and adjusted, do a gentle backward “tug test” — many dogs, especially slim-necked or nervous ones, can wriggle out of a loose harness by backing up, and that failure tends to happen at the worst possible moment. The harness should also let the shoulders and front legs move freely, with no restriction to the natural stride.
Make the fit check a habit
Build a quick fit check into your routine: run the two-finger test and the tug test whenever you put a new harness on, and spot-check periodically as your dog changes. If you're between sizes, follow the manufacturer's measuring guide rather than guessing, and prioritize adjustability. A well-fitted harness should be something your dog barely notices — comfortable enough to wear happily and secure enough that you never worry about them slipping free.
- Two fingers slide snugly under every strap — no tighter, no looser
- Straps sit clear of the armpits (no rubbing where the leg meets the body)
- My dog can't back out of it with a gentle tug test
- Full, unrestricted shoulder and leg movement
- Sized to my dog's measurements, not guessed
- I'll re-check as my dog grows, changes weight, or the coat changes
🗓 This Week's Plan
- Days 1–2: Run the full fit check on your current harness — two-finger rule, armpit clearance, and the tug test.
- Days 3–4: Adjust or re-size if anything failed; if you're between sizes, use the maker's measuring guide.
- Days 5–7: Watch your dog move in it on a few walks and log the Leash Calm Score to confirm it's comfortable.
Dial in your gear with Pak Social
Log your walks and your dog's Leash Calm Score after a fit check. You'll see whether the harness is helping your dog walk calm and comfortable.
Get Pak Social — Free ➡️ Up nextChoosing a No-Pull Setup6 min read›